To schedule a web application scan, please follow these instructions.
- Login to Security Center.
- Click Scan web app in the header.
- Click Schedules.
- Click Create a Schedule -> Web scan-> Vulnerability scan
- Under the headline General Information, enter the following:
- Name: the name of the schedule, e.g., Weekly standard scan.
- Owner: the owner of the schedule. Will be the one receiving notifications for the schedule.
- Target: Choose what web application you want to scan
- Under the headline Scan settings enter the following:
- Scan profile: select the scan profile for the schedule. Choose if you want to use the profile if the web application has no default profile or if you choose to override the profile on the web application.
- Scanner Appliance: select External for external scanning of your web application from Holm Security VMP cloud platform, or select an installed Scanner Appliance for local scanning. Choose if you want to use the profile if the web application has no default profile or if you choose to override the profile on the web application.
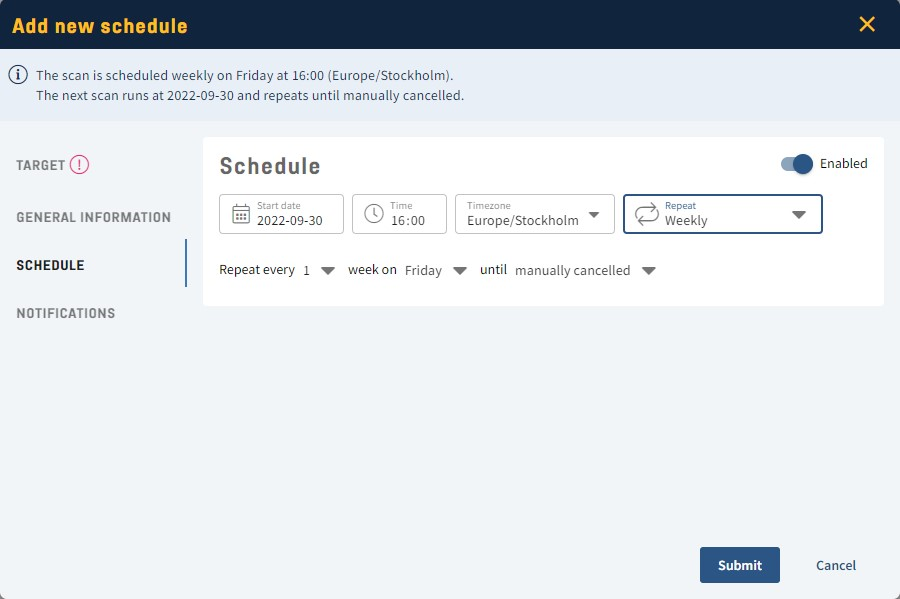
- Under the headline Schedule enter the following:
- Schedule enabled: Select the day, time, and timezone, and Don't repeat if you want the schedule to run once.
- Start date: Select the first start date.
- Time: Set the time for the scan to run (Notice that reoccurring scans will start at the time set here).
- Timezone: select the timezone for the schedule.
- Repeat: Select daily, weekly, or monthly between the scans.
- Every: The occurrence in combination with the values selected in repeat and day fields.
- Day: Select which day you want the scans to run.
- Under the headline Notifications, enter information about notifications sent before and when the scheduled scan is finished.
-
- Under Notification, before the scan starts, enter the following:
- Notify the scan owner before the scan starts: check to enable.
- Notify before the scan starts: select how long before the scan the notifications should be sent. The default is 1 hour.
- Subject: enter a custom subject for the Notification, or use default.
- Sender name: enter a custom sender name for the Notification, or use default.
- Sender email: enter a custom sender email for the Notification, or use the default. If you use your email (e.g., notifications@yourbusiness.com) address, please add the following SPF record for the domain (e.g., yourbusiness.com) to avoid problems receiving the emails:
https://support.holmsecurity.com/knowledge/how-do-i-add-an-spf-record-when-using-my-own-email-address - Also, send Notifications to the following email addresses: enter additional recipients for the notifications.
- Message: enter a custom message for the Notification, or use default.
- Under Notification for finished scan, enter the following:
- Notify the scan owner when this scan is finished: check to enable.
- Subject: enter a custom subject for the Notification, or use the default.
- Sender name: enter a custom sender name for the Notification, or use default.
- Sender email: enter a custom sender email for the Notification, or use the default.
- Also, send Notifications to the following email addresses: enter additional recipients for the notifications.
- Message: enter a custom message for the Notification, or use default.
- Click Submit.
- The scan will now run, and a notification will be sent (if activated) according to the schedule.
- Under Notification, before the scan starts, enter the following:
- Done!