
The image is distributed as an Amazon Machine Image (AMI) and allows our customers to easily set up a Scanner Appliance within their AWS environment.
To install a new Scanner Appliance, simply follow these step-by-step instructions.
Before you begin the installation process, we highly recommend that you take a look at the requirements. This step will ensure a smooth and successful installation of the Scanner Appliance.
System requirements
The system requirements need to be set prior to booting the Scanner Appliance for the first time. Read about the system requirements here:
https://support.holmsecurity.com/knowledge/what-are-the-system-requirements-for-the-scanner-appliance
Firewall requirements
To ensure proper communication between the Scanner Appliance and Security Center, it is important to review the following information:
https://support.holmsecurity.com/knowledge/what-are-the-firewall-settings-for-scanner-appliance
AWS Instance type
You must have an AWS instance type that supports the Serial console. You can find more information on the AWS Serial console, and how to access it here (External link): https://docs.aws.amazon.com/AWSEC2/latest/UserGuide/ec2-serial-console.html
Instance size
We recommend running the Scanner Appliance using minimum m5.large in AWS.
Preparation for the Scanner Appliance in Security Center
- NTP servers: NTP servers are limited to a maximum of 4.
- Token: Token from Security Center > Scanner Appliance section.
{
 "ntpservers": ["xxx.xxx.xxx.xxx","xxx.xxx.xxx.xxx"],
 "token": "nnnnnn"
}
For OnPrem usage with a self-signed certificate be:
{
	"ntpservers": ["xxx.xxx.xxx.xxx","xxx.xxx.xxx.xxx"],
	"token": "nnnnnn",
	"api_base_url": "https://onprem.address:8004",
	"nvt_base_url": "https://onprem.address:8007",
	"apt_base_url": "http://onprem.address:8044",
	"trust_certificates": "1"
}
If using a valid certificate, the "trust_certificates" line should be removed.
When adding Scanner Appliance for OnPrem:
The TLS certificate hostname on the OnPrem must be the same as the api-url. If it's not, the registration will fail.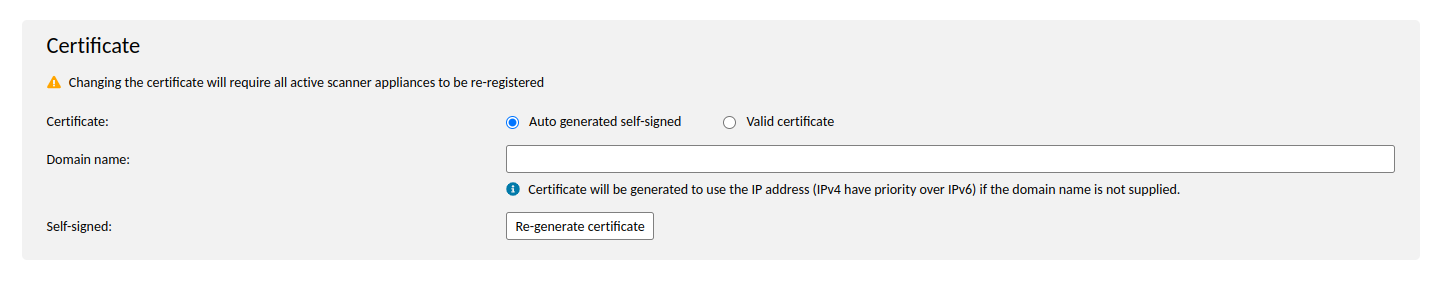
This config will be later added to the EC2 User data before booting the Instance (Scanner Appliance Image) in AWS. Do that while adding the Instance in AWS on the step called "3. Configure Instance" to the User data at the bottom.
This can be added to running instances later as well by clicking Instances-> (Right click on the right Instance) -> Instance Settings -> Edit User Data -> Current User data.
The instance is required to be rebooted after the change.
Steps to set up Scanner Appliance in AWS
- Share the following information to support by submitting this form:
- AWS Account ID (12-digit account number)
- AWS Region
- Wait for confirmation from Support that the Scanner Appliance AMI is shared with your account and region.
- Confirm in your AWS account that you can access the shared AMI.
- Go to Connect instance click Connect, and wait for the console UI to show up.
-png.png)
Steps to configure the Scanner Appliance:
1. In the Appliance console UI, choose:
-
- Configuration > Network and press enter. Now you need to fill out the following values manually and save by pressing F11 (Fn+F11).
-
-
- IPv4 address
- IPv4 network
- IPv4 gateway
- IPv4 dns-nameservers
- IPv6 address
- IPv6 network
- IPv6 gateway
- IPv6 dns-nameservers
- Then choose the option Probe registration, input the Scanner Appliance token (located under the Scanner Appliance section in Security Center) and press F11 (Fn+F11) to confirm the registration.
-
- Reboot the Appliance.
- In Security Center, you can check the activation to make sure the scanner was registered correctly.
- Done!
Please notice: connection time is up to 20 minutes
Please notice that it can take up to 20 minutes before the Security Center indicates that a connection is established.