This feature enables you to manage key contacts for both your organization and each of your customers. Keeping these records current ensures your entire team works from the same accurate details and that Holm Security can always reach the appropriate person in your organization for any given inquiry.
Contact information is managed at two levels: at the partner level in Settings, and at the individual customer level in the company view. Both levels work identically and support the same four contact types.
The Contact information tab is visible to Admin and User roles. Marketing and Notifications roles do not have access.
Contact types
Each partner and each customer supports four named contact types:
| Contact Type | Purpose |
| Sales contact | Commercial relationship and renewals |
| Customer success contact | Day-to-day account management |
| Finance / billing contact | Invoicing and payment inquiries |
| Technical Contact | Product and integration support |
Each type holds exactly one contact. The same person can be assigned to more than one type - for example, the same individual can be both the Sales Contact and the Technical Contact.
Partner-level contacts
To manage contacts that represent your organization, go to Settings and open the Contact information tab. The contacts shown here always belong to your main partnership and do not change when you switch between partnerships in the portal.
Customer-level contacts
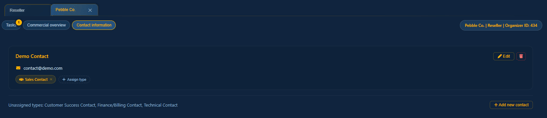
To manage contacts for a specific customer, click the customer in the overview table, then select the Contact information tab in the company view. Each customer has their own independent set of four contact types. Changes to one customer's contacts do not affect any other customer or the partner-level contacts.
For more information about company information please refer to the company information Knowledge Base article.
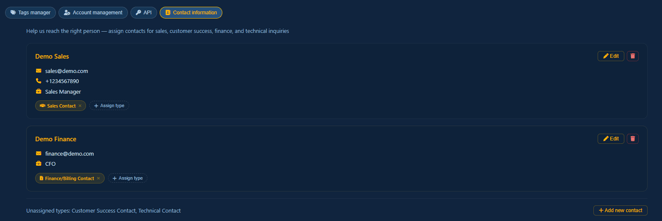
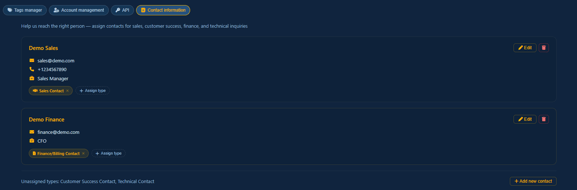
What you see
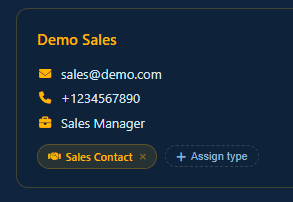
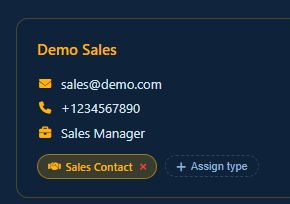
Each contact with at least one assigned type is shown as a card displaying the contact's name, email address (as a clickable link), phone number (if provided), job title (if provided), and colored type badges indicating which contact types they hold.
Contacts that are not assigned to any type appear in a separate Unassigned contacts section below the main cards. They can be assigned to a type at any time.
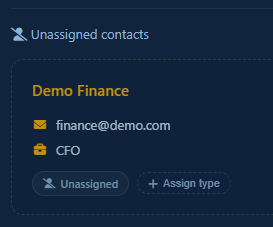
Any types that have no contact assigned are listed at the bottom of the view under Unassigned types, with an Add new contact button next to each.
Adding a contact
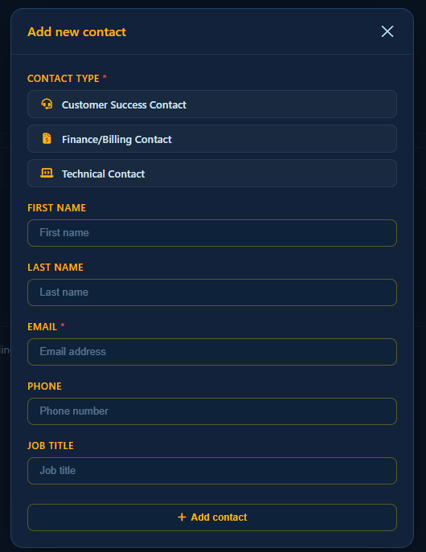
- Click Add new contact next to an unassigned type.
- In the Add Contact panel, select which contact type or types this person will be assigned to. At least one type must be selected.
- Enter the contact details. Email is required. First name, last name, phone, and job title are optional.
- Click Add contact to save.
If the email address matches a contact already in the system, that contact is updated with the new details and assigned to the selected types. If no match is found, a new contact is created.
Editing a contact
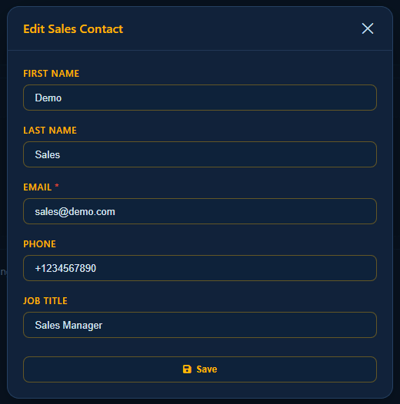
- Click Edit on any contact card.
- Update any of the fields - name, email, phone, or job title.
- Click Save to apply.
Changes apply across all types the contact is assigned to. If the same person is both the Sales Contact and the Technical Contact, updating their phone number updates it in both places.
Assigning a contact to additional types
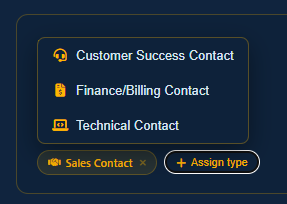
- Click Assign type on any contact card.
- A dropdown appears listing the available types. Types the contact already holds are excluded. Types that are already occupied by a different contact show a swap indicator - for example, Sales Contact (swap with Jane Smith).
- Click a type to assign the contact to it.
If the selected type is already held by a different contact, the system automatically unassigns the current holder from that type before assigning the new one. The displaced contact is moved to the Unassigned contacts section and can be reassigned to a different type at any time.
Removing a contact from a type
Each badge type on a contact card has a small removal indicator. Click the badge to unassign the contact from that type.
If the contact holds other types, they remain in the named cards. If this was their only type, they move to the Unassigned contacts section where they can be reassigned or deleted.
Deleting a contact
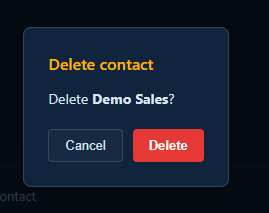
- Click the trash icon
 on any contact card.
 - Confirm the deletion in the dialog that appears.
The contact is removed from the portal view entirely - from all type slots and from the unassigned list. This applies to all types they were assigned to at the time of deletion.